
In order to create an event that lives on southridgechurch.ca/events we must create the event in Planning Center. Once the event is public on PCO, it will automatically show up in the website in 10-20 minutes.
To create an event in Planning Center we are going to use the module called Registrations. Planning Center will sometimes also refer to this as Signups.
1. Login to Registrations
To access Registrations you can either click here, or from your PCO browser window, choose the Registrations module by clicking in the top right corner and choosing Registrations.
2. Create the new Event/Signup


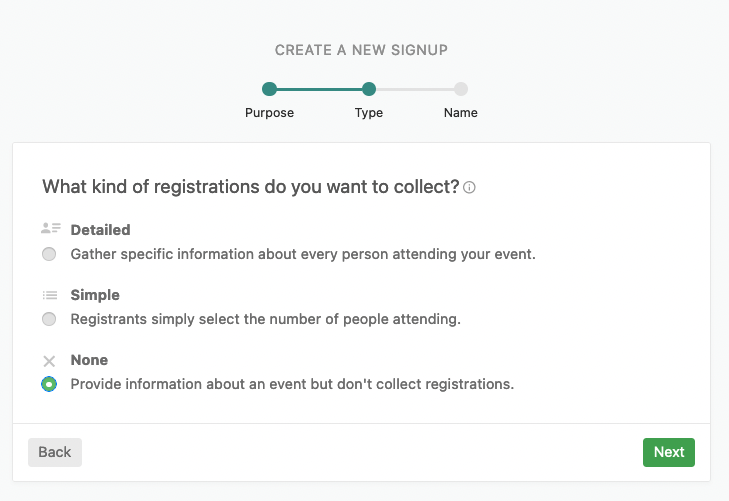
Detailed Events Like: Retreats, offsites, events that need payment.
Simple Events Like: Welcome Lunch where you want to encourage getting a headcount for the event.
None Events Like: Community BBQs, Harvest Celebration Service
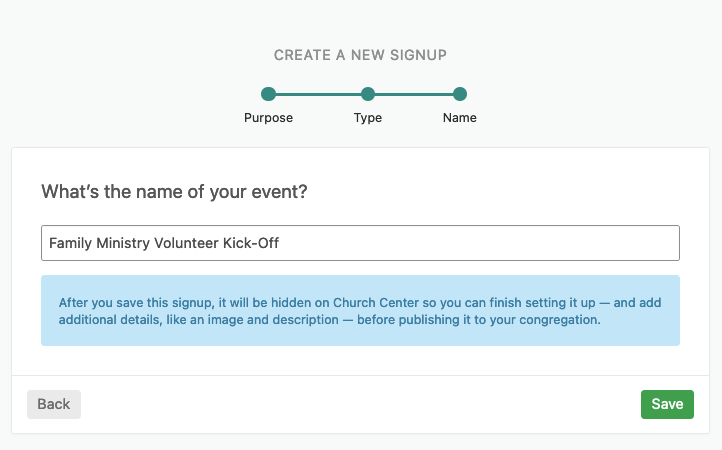
3. Add Details
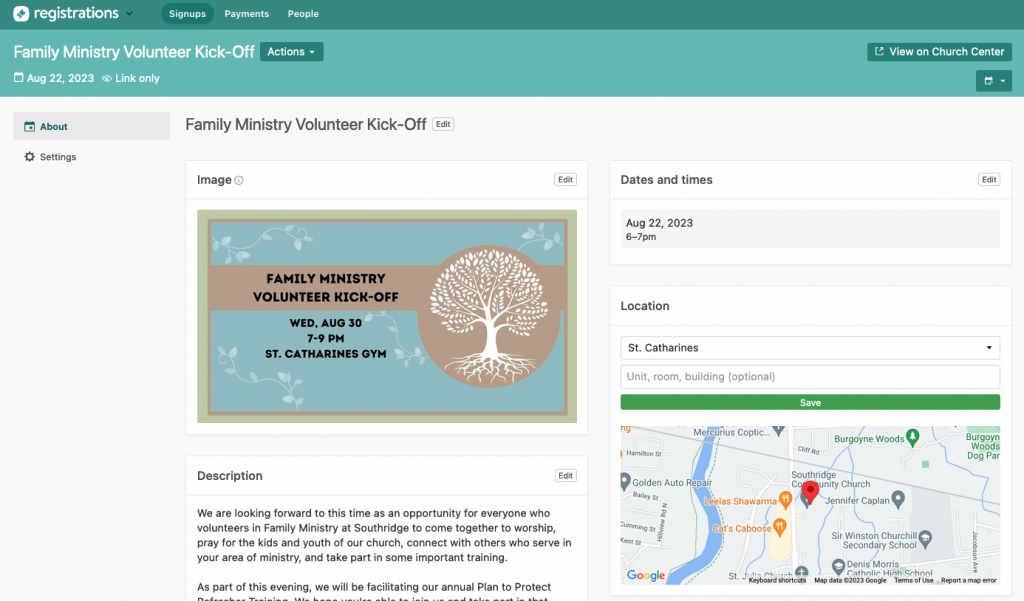
From this main page you can edit the description, add a photo, and adjust the date and time.
You can also set the location. You will find our 3 sites pre-listed in the available options.
Choose Other if your event is elsewhere. You can enter a specific address, an online link, or even the GPS co-ordinates!
You could also choose to leave the location blank or Not-Specified
4a. Simple or Detailed Event Next Steps
Simple or detailed events have additional next steps we want to take care of.
For a Simple event click here for that part of the guide.
For a Detailed event click here.
If it was none-detailed event proceed to step 4b.
4b. Make the event public
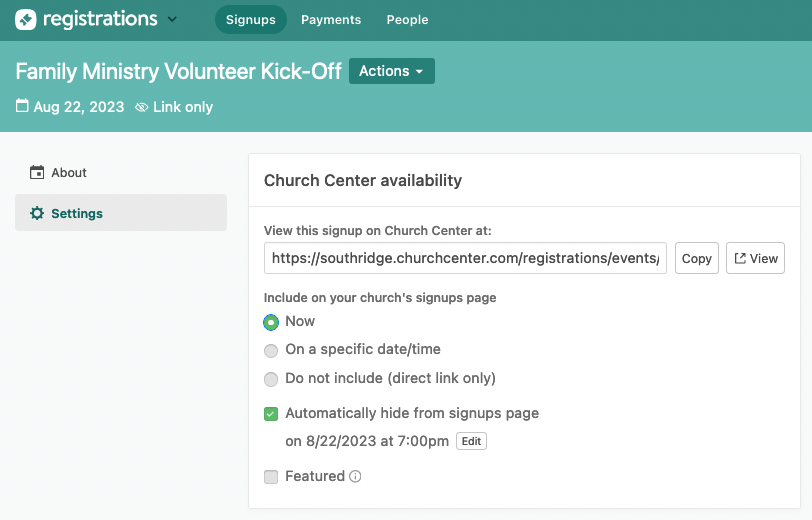
Click Settings from the tab on the left, and then change Church Center availability to Now. By default it will choose Automatically hide from signups page after the event has started.
Simple Event
5. Selection Types
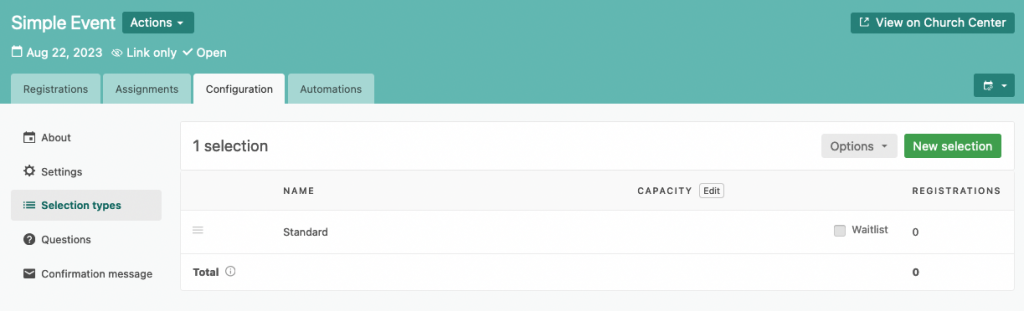
Choose Selection types from the tab on the left. These function similarly to ticket tiers, however we often will only have one selection type.
It defaults to calling the selection Standard, I prefer to give it the same name as the Event.
So click on the selection type and edit the name.
From the Selection types window. You can choose to set a capacity for a specific type. This way if your event only has room for so many people it will show when it is at capacity!
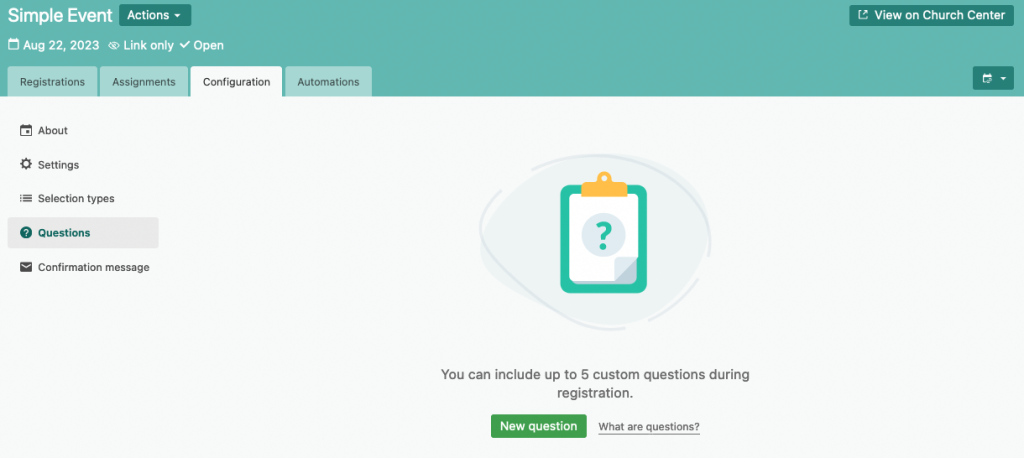
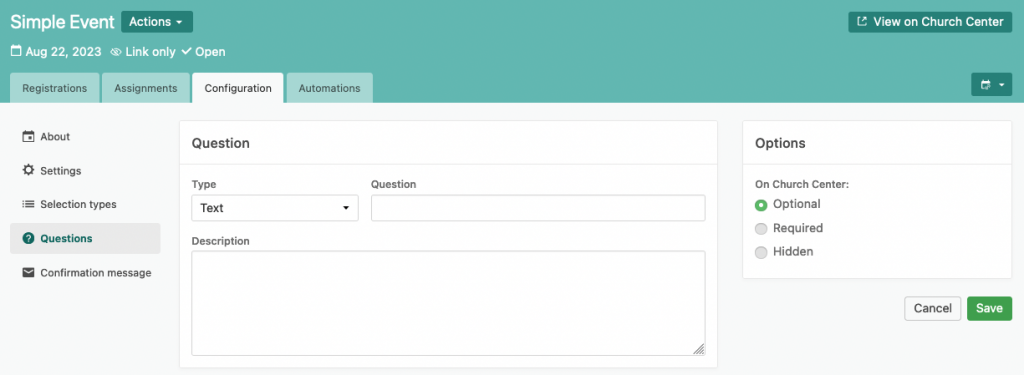
6. Questions
If you have additional questions you want to ask, like allergies etc, you can ask that via the Questions tab on the left.
7. Finalize Settings & Make it Public
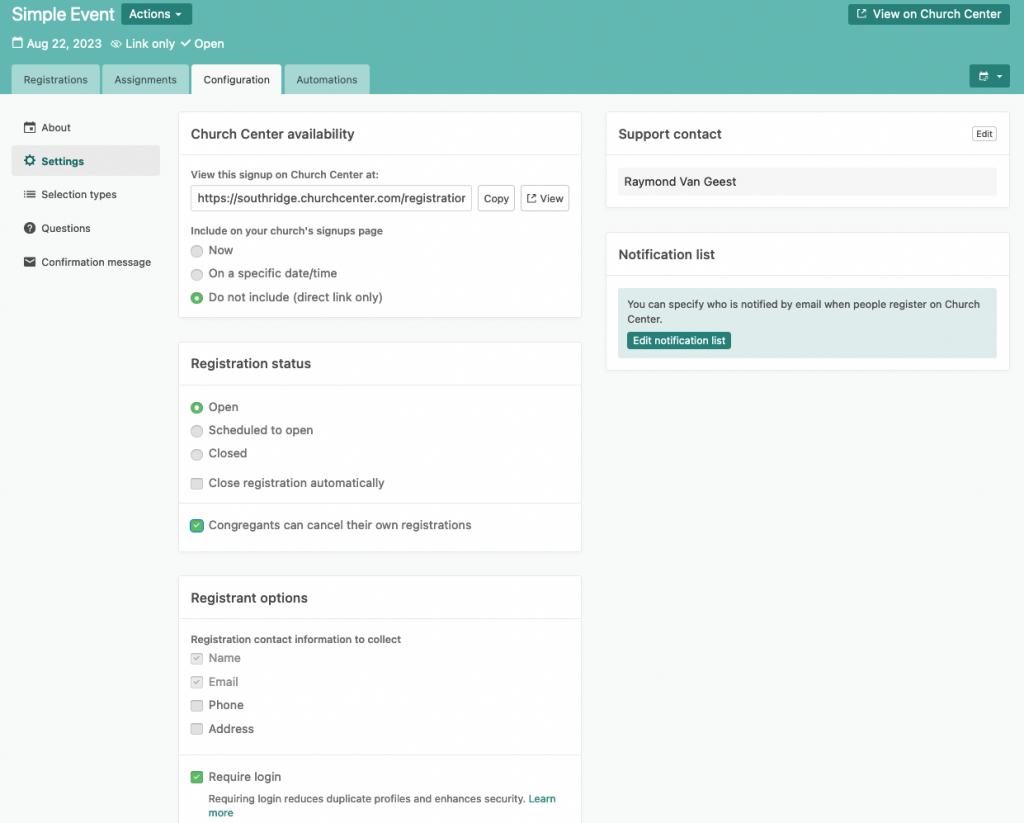
Finally from the settings tab on the left we are going to setup a couple of specific details.
- Church Center availbility: Now event will go live on the website.
- Registration Status:
- Open (People can actually register already)
- Check off: Congregants can cancel their own registrations
- Registration options:
- Choose if you want to collect additional details about the individual registering.
- Check off: Require login
- Notification List: Add email addresses here if you want people to be notified of sign ups.
Detailed Event
With a detailed event you will notice additional tabs like Add-on options, Discounts and Scholarships. We typically will not need to use these tabs.
5. Selection Types

Choose Selection types from the tab on the left. These function similarly to ticket tiers, however we often will only have one selection type.
From the Selection types window. You can choose to set a capacity for a specific type. This way if your event only has room for so many people it will show when it is at capacity!
It defaults to calling the selection Standard, I prefer to give it the same name as the Event.
Click on the selection type and edit the name.
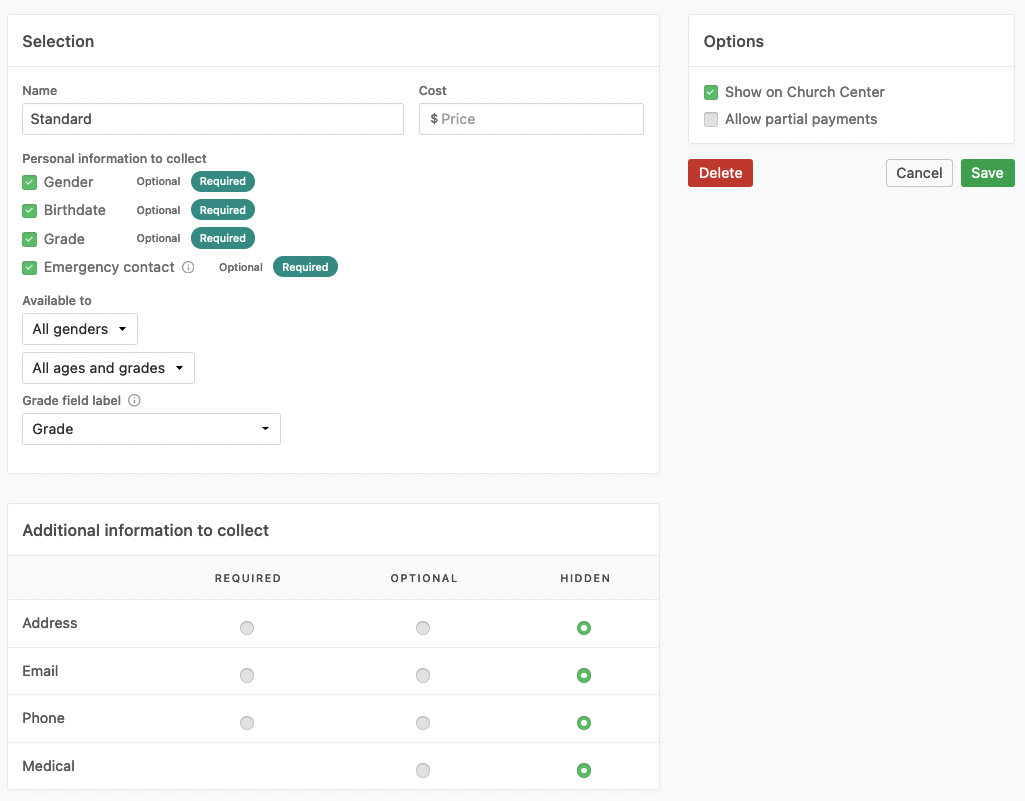
You can also get specific information for each selection type as well as set the price. You can also limit the people who can register to certain criteria like age or grade range.
6. Questions
If you have additional questions you want to ask, like allergies etc, you can ask that via the Questions tab on the left.
7. Forms
Depending on your event you are likely to have additional forms or waivers needed. For instance Youth Ministry needs an Appendix 9 signed. Using the forms tab you can reference PDFs, web links or PCO Forms that a registrant is prompted to complete during registration.
If you link to a PCO form it can even be noted whether they completed the form or not on the main registration tab of the event!
8. Finalize Settings & Make it Public

Finally from the settings tab on the left we are going to setup a couple of specific details.
- Church Center availbility: Now event will go live on the website.
- Registration Status:
- Open (People can actually register already)
- Check off: Congregants can cancel their own registrations
- Registration options:
- Choose if you want to collect additional details about the individual registering.
- Check off: Require login
- Notification List: Add email addresses here if you want people to be notified of sign ups.
9. Registrant Details & More
From the top of the event page you will see additional tabs.
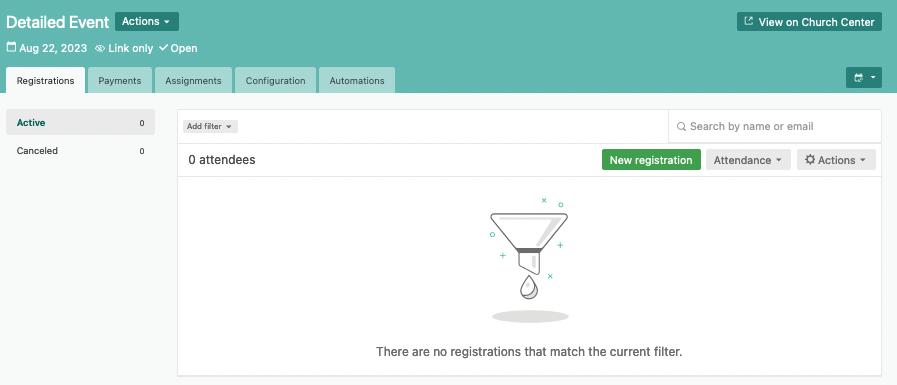
Registrations show you who has registered for the event, and additional details about that registration.
Payments shows you payments that have been processed.
Assignments allow you to break up the registrants into different groups, this could be buses, cabins etc.