
Nextcloud is our private Dropbox alternative file syncing software. It is what we will be using to keep the files on your specific computer backed up and accessible. We are going to setup a main Nextcloud folder and then if you need it we will add your Desktop to the sync as well.
Once we’re all said and done there will be a Nextcloud folder in your Finder sidebar. This is the place to store all your files that you want backed up.
This does not replace the Shares drive. I still highly encourage using Shares for centrally accessible files and sharing.
Let’s Begin!
The Nextcloud client has already been pushed out to your laptop. There are just a couple of steps required to get everything in place.
Setup The Desktop App
Now we’re going to setup the client app on your computer.
Let’s start by launching Spotlight. If you click on the Spotlight icon 🔍 in the top right-hand corner of your mac, you’ll be presented with a search bar.
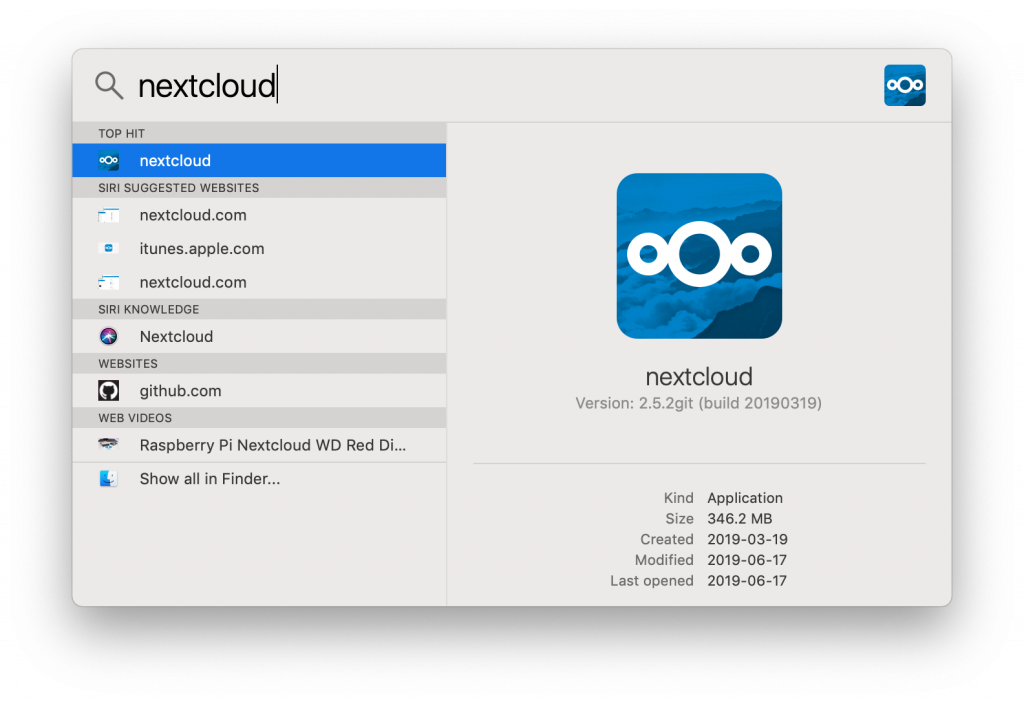
Now type in Nextcloud and hit enter when the nextcloud icon shows up.
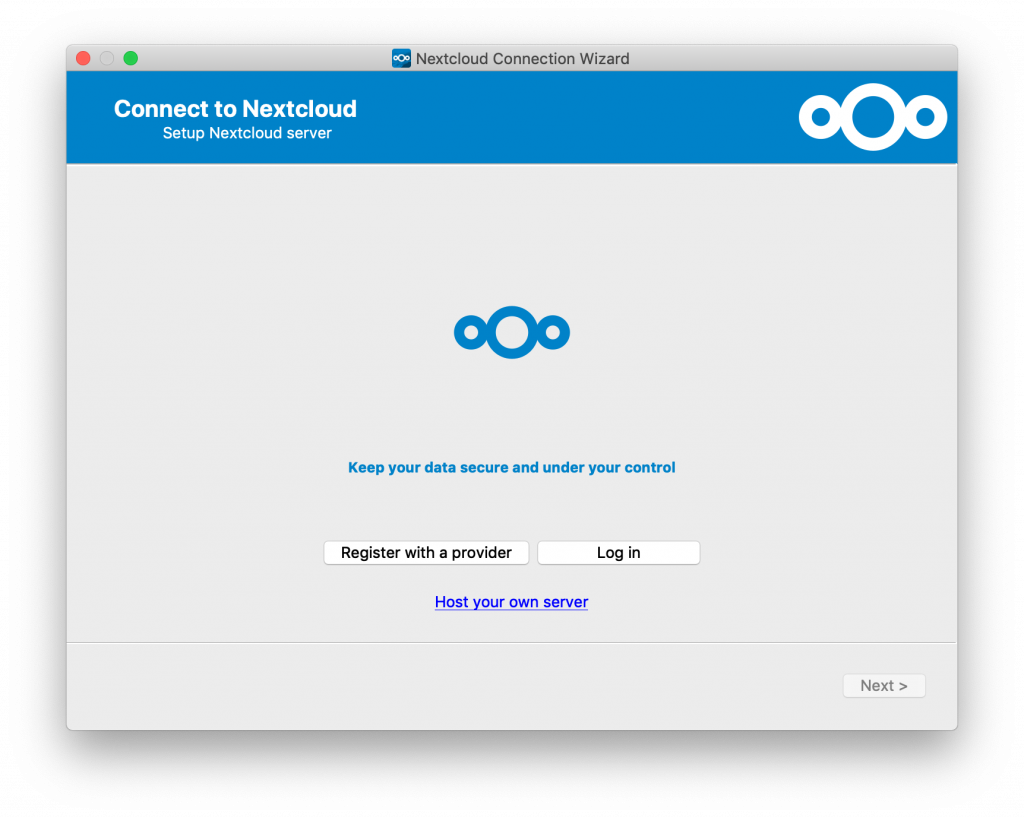
Choose Log In

In the server address field enter:
https://nextcloud.southridge.cc
Then press Next
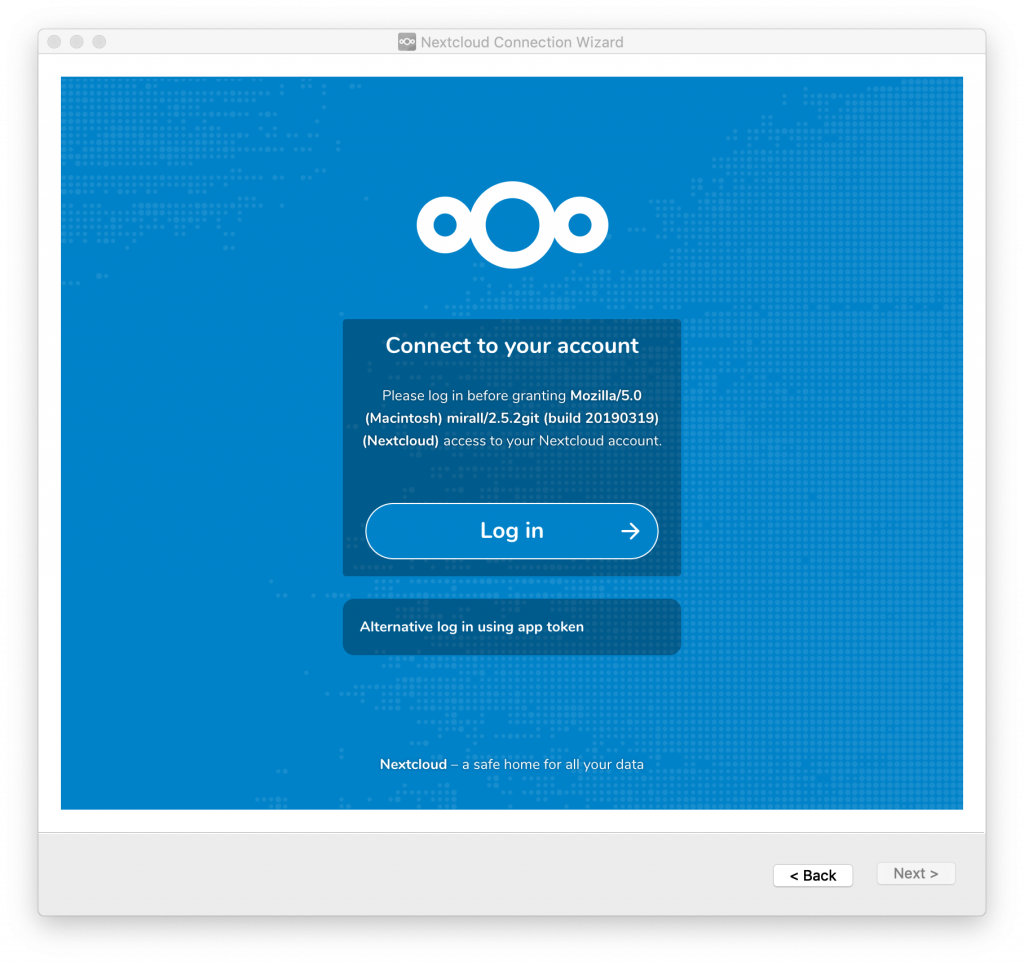
In the next steps we are going to use the app password we created earlier.
Choose Log In
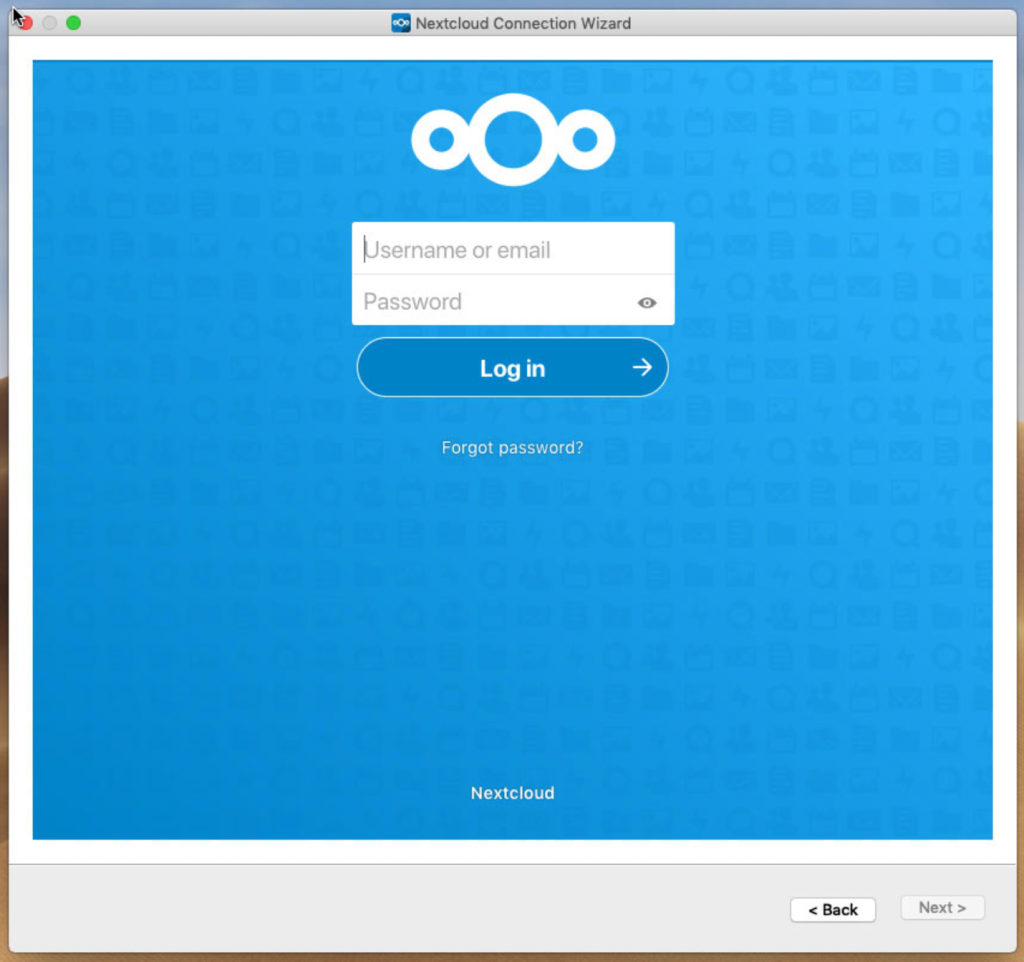
Enter your username and password. This is the same password you use for signing into your mac.
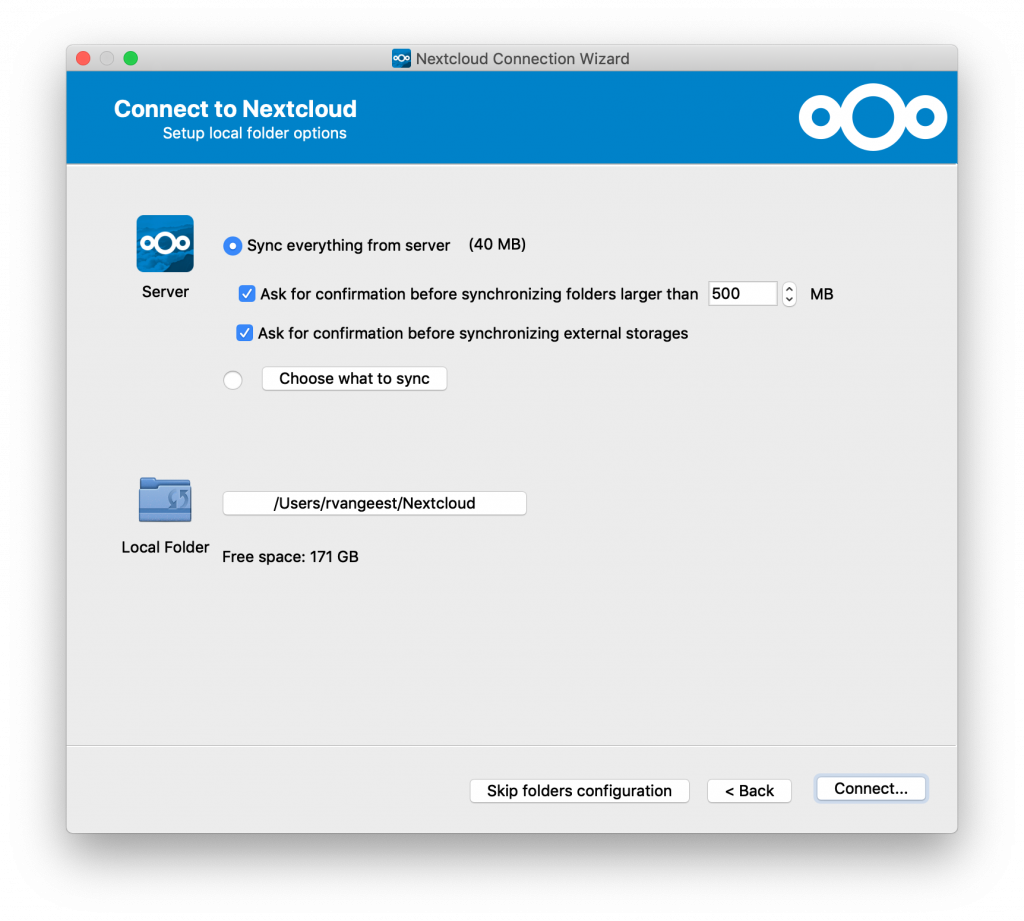
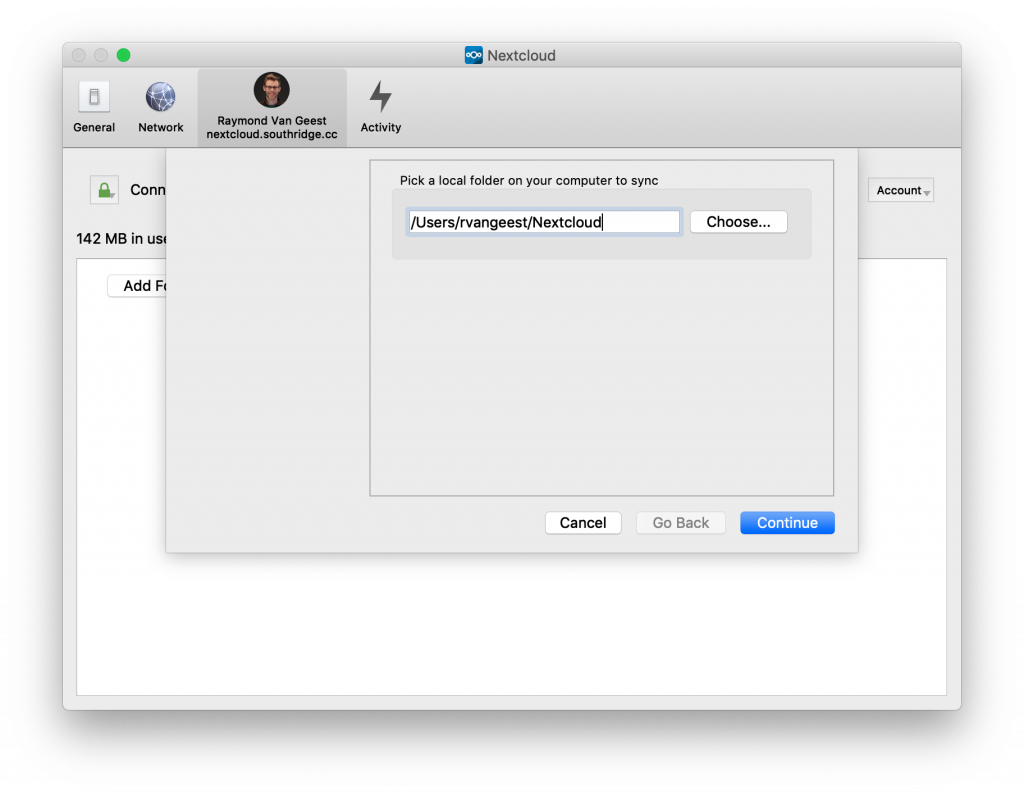
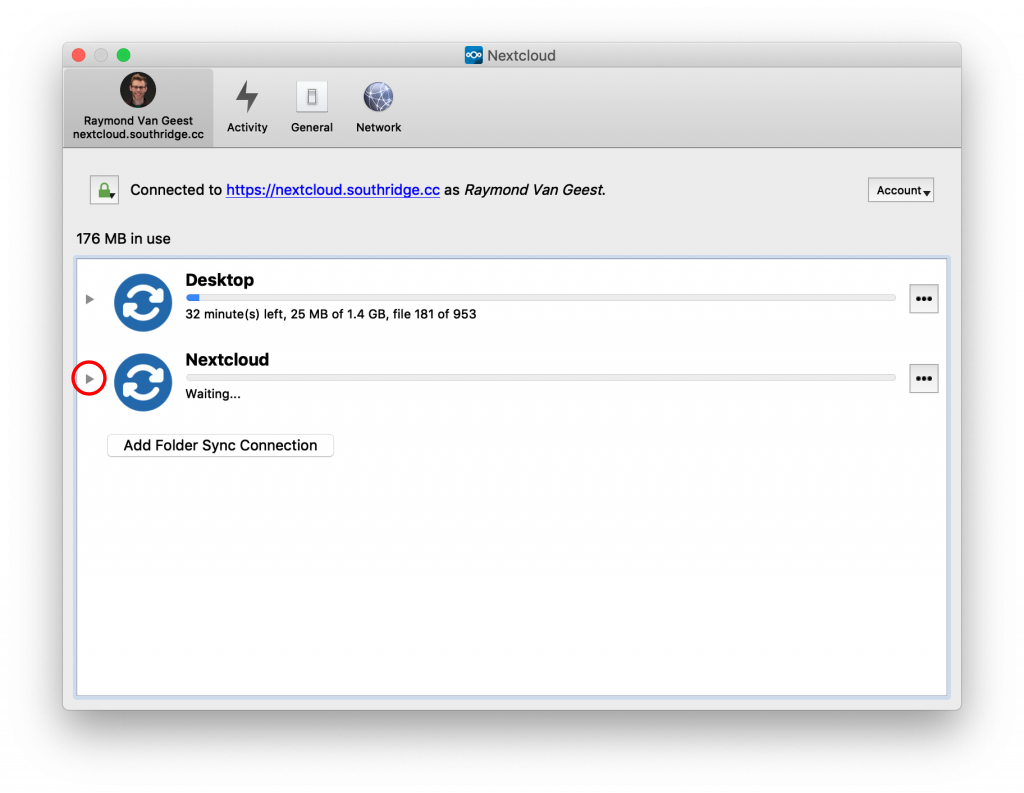
You will now be presented with a new window choosing what to sync. We are going to use the suggested/default settings.
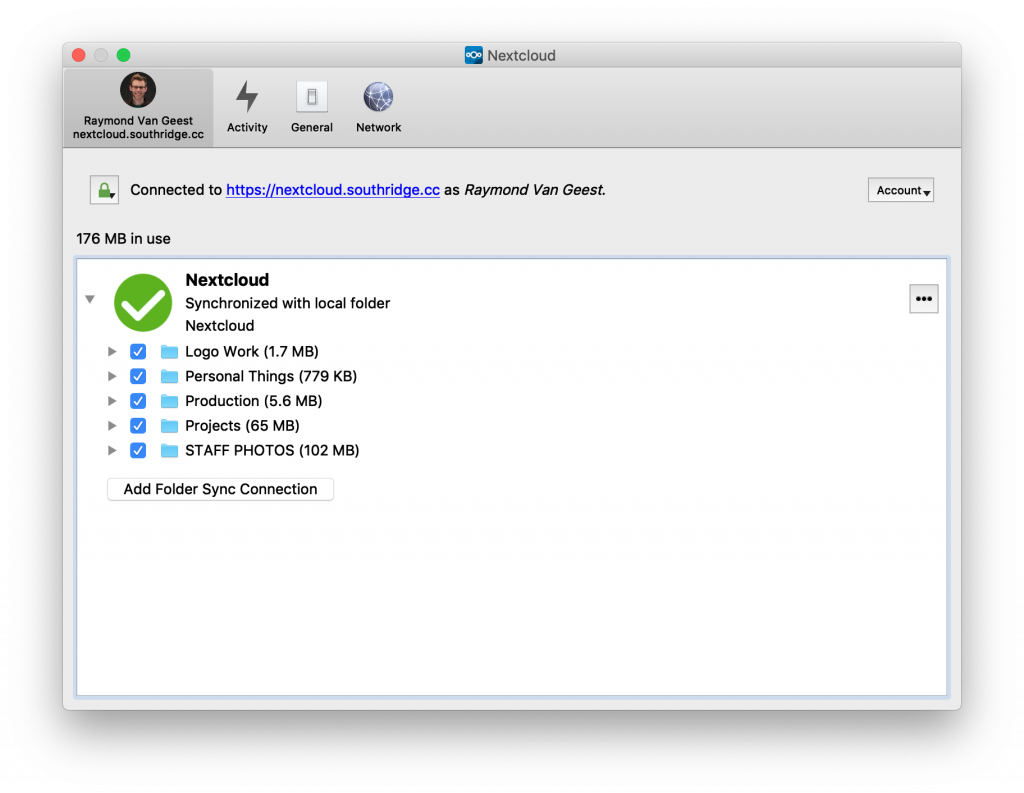
You’re done! Congratulations! Now any files you save in here will be kept sync’d back to your Nextcloud folder. If you don’t need to sync the files on your desktop you don’t need to keep reading.
If the files that live on your desktop are important to you, don’t stop here. You must keep going!
Sync my Desktop Too!
Are you one of those users who keeps a thousand things on their desktop because it’s “easier” to find there? Well you’re not unique. Here’s how we are going to sync your desktop to Nextcloud as well.
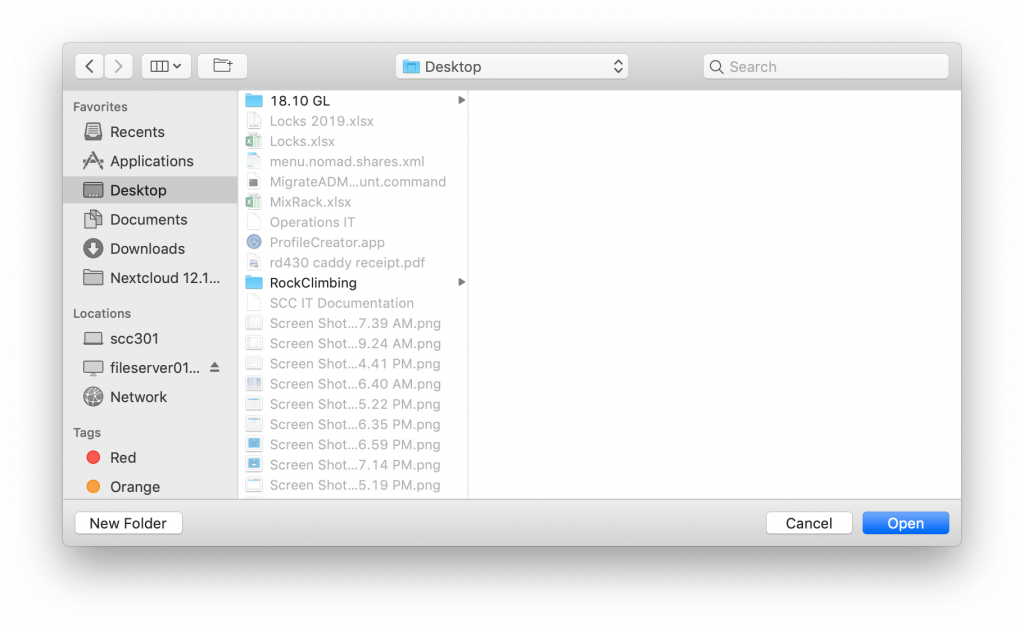

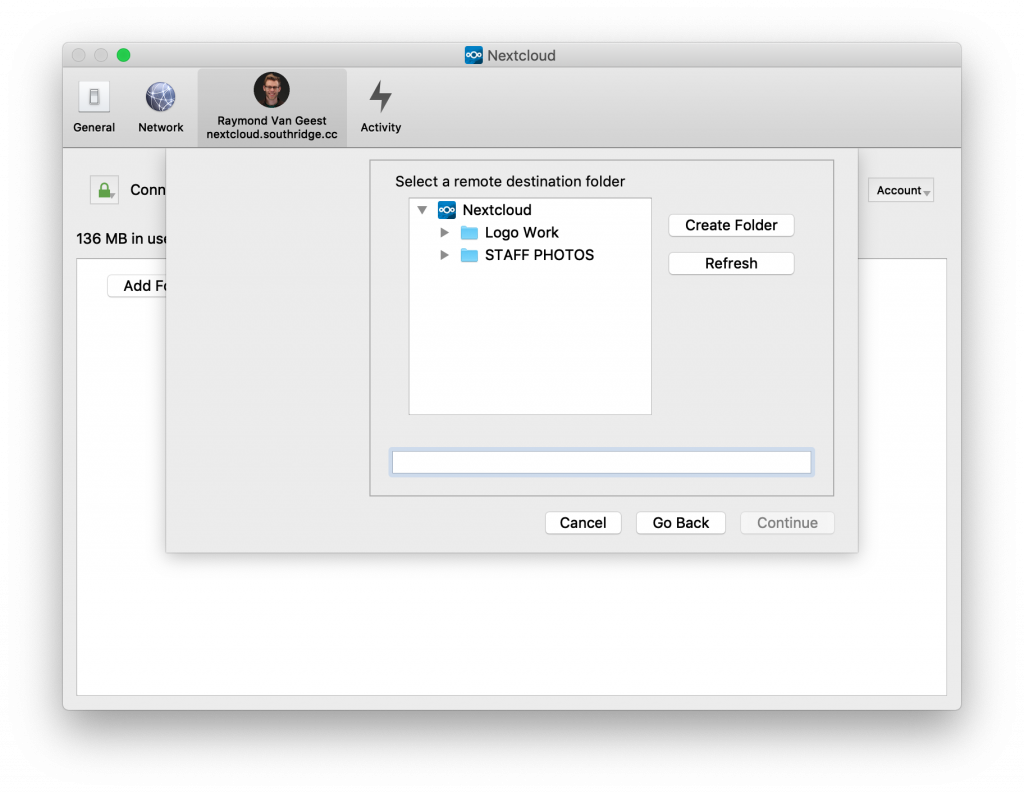
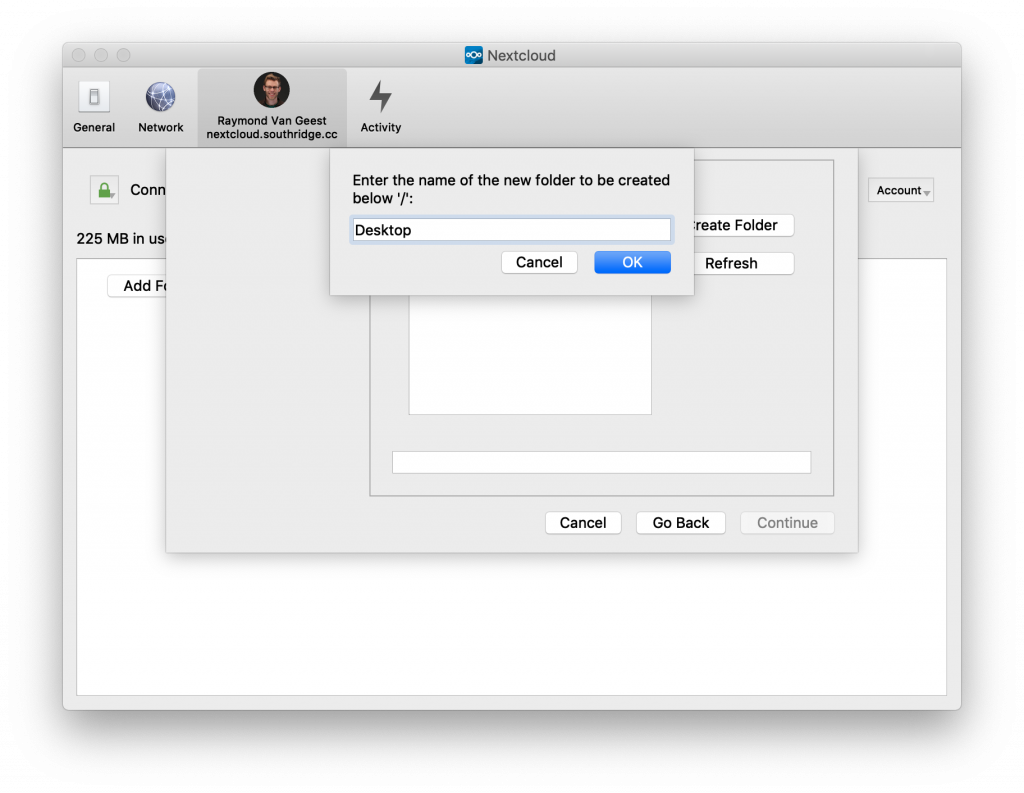
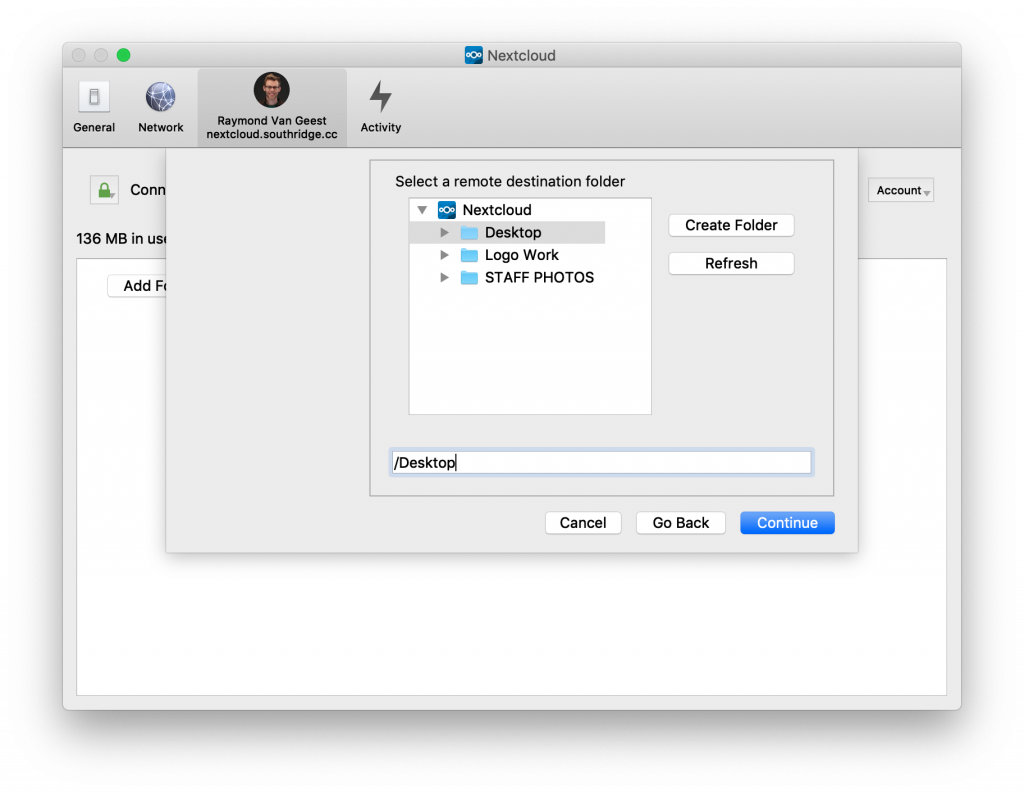

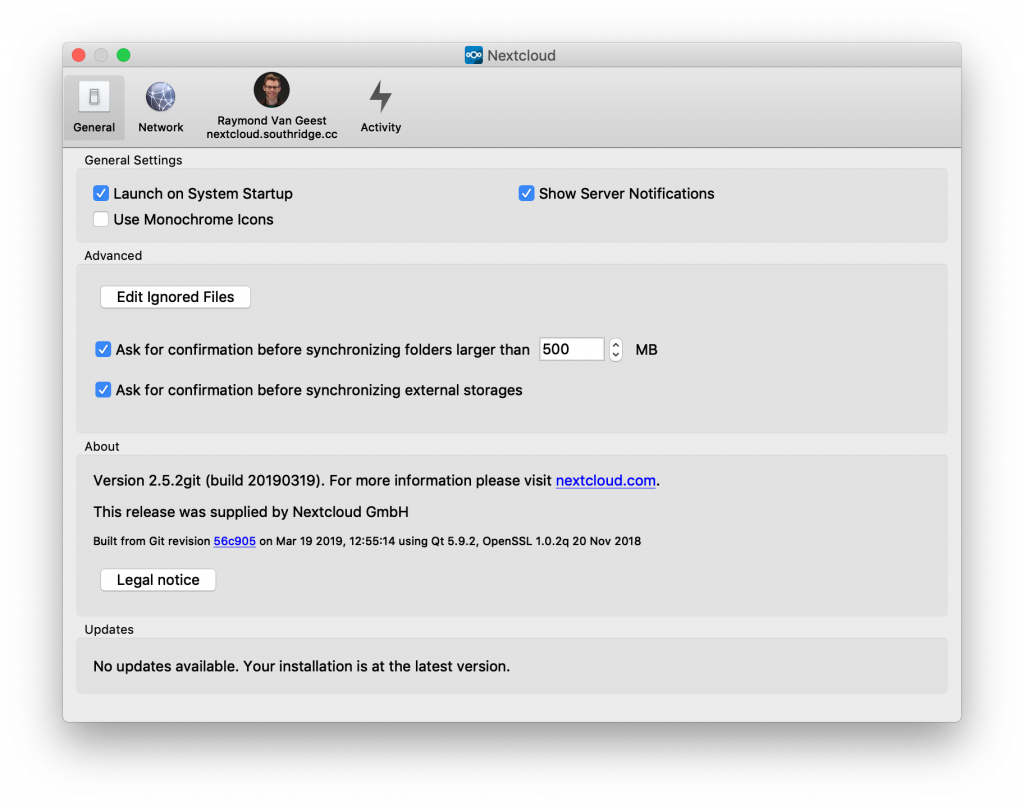
Ok, just a couple more steps so we don’t have your desktop files being synced to your Nextcloud folder.
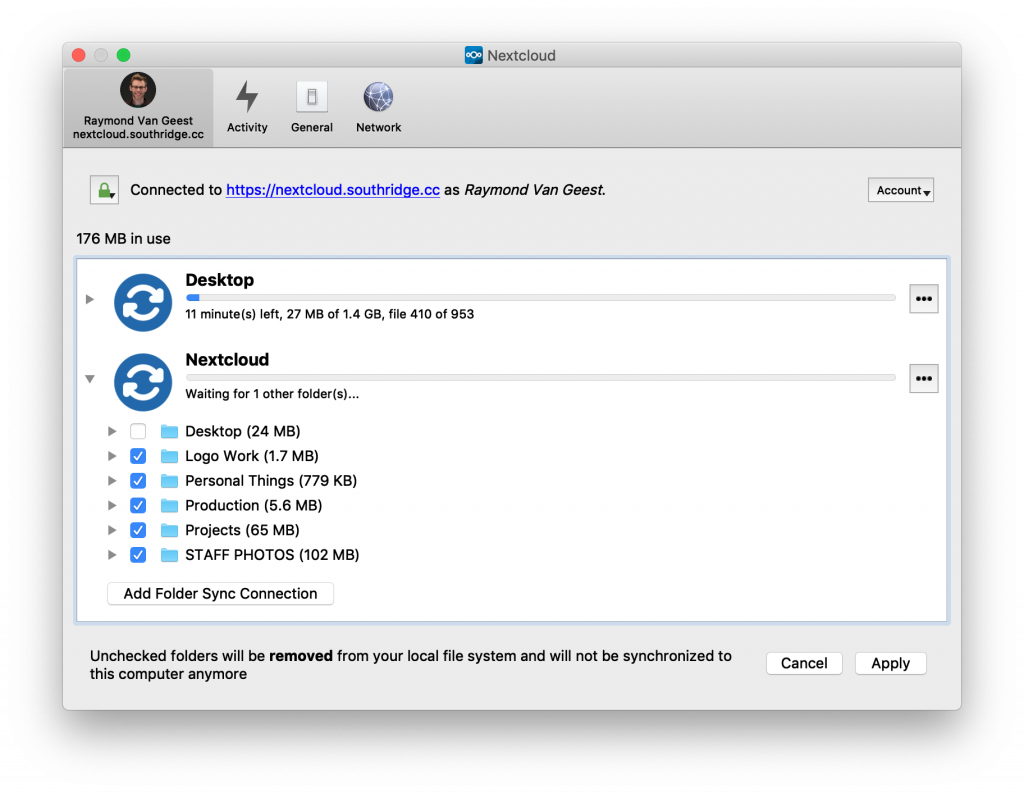
Click the Apply button.
Ok, wow! Now you’re done! Congratulations. You have successfully setup Nextcloud all by yourself!
Give yourself a pat on the back.