
For the purpose of this article we are going to focus on exporting footage from the XProtect Web Client. Exporting from the Smart Client at the front desk is NOT recommended. (It only exports one format)
- Login to the Web Client at https://stccams.sccad.southridge.cc:8082 with your mac username/password.
- Choose the Investigations tab. Search for the camera you need and click the + button. Your camera will appear in the New Investigation window.
- Use the timeline at the bottom to select the specific date and time you need to review or export.
- You can click on the date/time text and a calendar pops up to select the specific date/time.
- The timeline will show red for locations where there was a motion recording.
- You can shrink the size of the yellow tabs to highlight the specific section you want.

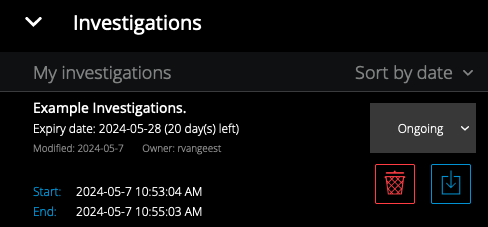
- Choose Save and give the investigation a name. Only you (and your IT admin) can see the saved investigations.
- Once saved, collapse the camera list on the left hand side and expand the Investigations list. Choose the Investigation you want and click the blue download icon.
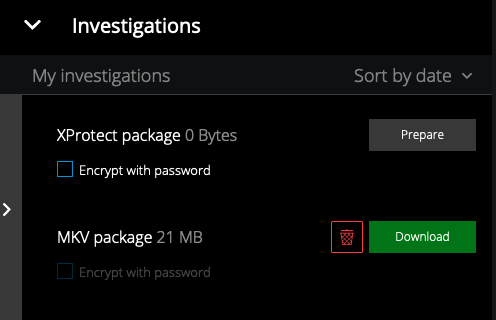
- Now depending on your goal, you have two export options.
- XProtect Package only works on Windows computers and includes a version of the Smart Client to playback footage. This works great for multiple cams and may be the preferred solution for handing off to police etc.
- MKV Package gives you individual files during that investigation window. This is the recommended option for Southridge.
- Click the Prepare button for the type of investigation you want to download. It will take a moment to process the file depending on how many cameras and how long of a segment you selected. Once complete you will have the option to download the file.
Voila! You have successfully downloaded your video files.